Install software:
Anaconda will manage virtual environments for Python projects. Python projects usually import third-party modules created by other developers to streamline project development; Anaconda is the virtual warehouse that keeps imported modules and libraries orderly and accessible when working on a computer that may have multiple python projects requiring the same module (eg. numpy or pandas) or allowing several versions of Python to run on the same computer without interference.
Git provides version management for codebases. Similar to Google Docs or Onedrive, Git keeps history of all edits and changes to code in a memory-efficient manner. Git, therefore, allows us to safely make edits and additions to our code without losing our previous progress if we break something (which is inevitable). Github desktop provides a platform to host our code Repositories on the web and update them with an intuitive software solution (though, the git command line interface is always still available). It is useful to note that Github is a platform built atop Git—they are not the same. A Git installation is required for Github. Your Github account will allow you to host your code on the web at github.com for others to see.
Visual Studio Code is our Integrated Development Environment (IDE) software. If you have used Matlab before, VSCode is similar in principal. VSCode can be used for developing in many coding languages, but we will be using it for Python. There are many IDEs around all with pros and cons. It is worth looking at others, but VSCode is an open-source product supported by Microsoft which means it will be around for a while, free, and secure.
Conda Virtual Environments
Installing Anaconda
- Download the program, you do not need to sign up for an account. However, an account gives you access to some nice tutorial Jupyter notebooks
- When going through the installation wizard, the most important setting is to make the conda python set as the default system python path. This ensures that your Operating System references conda’s python paths and not any other installed Python version (ie. from the Microsoft Store, or from a browser, etc).
- The installation provides you with the Anaconda app and anaconda terminals.
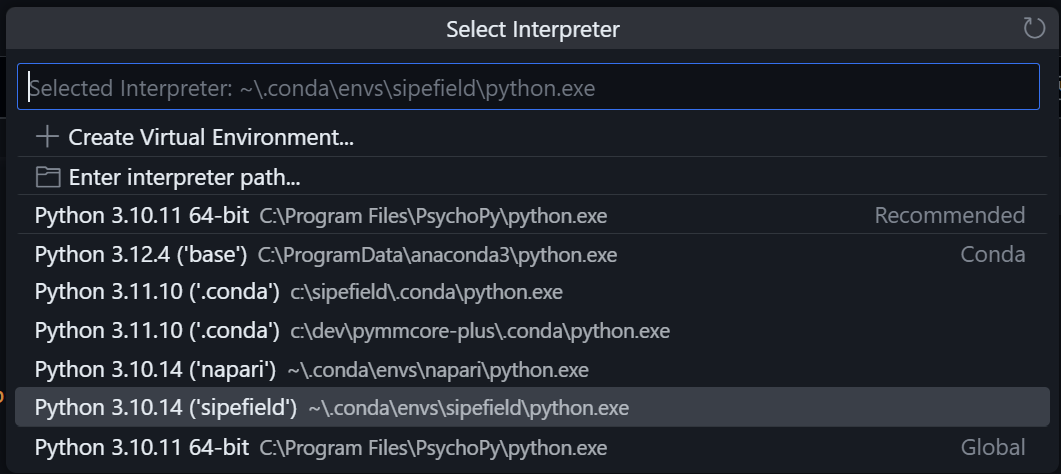
Think of conda environments as a sandbox for a single python project. It will contain a unique Python installation and all packages installed stay within the sandbox. This allows having multiple sandboxed python projects you can switch between without causing any issues for you Operating System
Let’s make a conda environment
Create an environment
conda create --name sipelab
Activate the environment
conda activate sipelab
Install some packages (libraries) via conda-forge or pip
conda install -c conda-forge pandas numpy
pip install pylsl
Sometimes, there will be an environment.yml file that you can use to install all of the dependencies for a specific enfironment.
The environment.yml file can be used to build the conda environment:
cd path/to/yml
conda env create -f environment.yml
Visual Studio Code
What is VSCode versus Visual Studio?
If you have been in a similar tutorial before, or done your own programming projects, you may have ran into Visual Studio and Visual Studio Code. What’s the difference?
Visual Studio Code is an editor while Visual Studio is an IDE.
For the work we do in lab, VSCode is all we need. It is our fancy way of editing our scripts (python scripts, to be specific, such as script.py). It also allows us to manage out Git repositories and Conda environments.
Installing VSCode
VSCode Extensions
This is an opinionated list of Jake Gronemeyer, and does not represent a comprehensive list of extensions. However, these are the most essential for Python, data science, and Git management. If anything, you must install the official Microsoft Python, Pylance (linter), and Python Debugger in order to have a modern development environment. Though, even that is up to personal preference (and how much you respect your own sanity)
    |
|---|
Conda and VSCode

Git control in VSCode
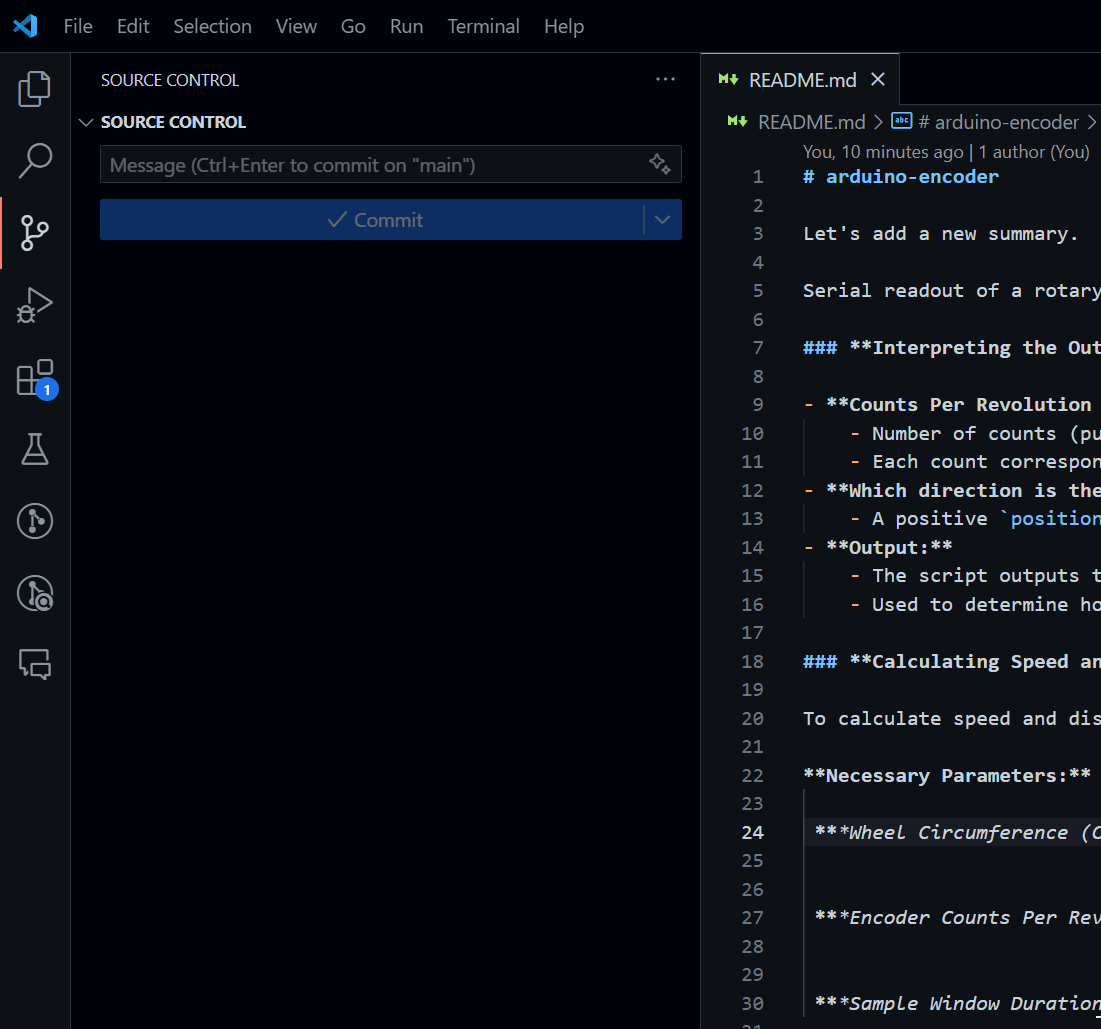
Microsoft provides a useful tutorial with screenshots on using the integrated Git source control in a Visual Studio Code environment. Below is a gif of the Source Control tab in VSCode:
I have added new summary to the README.md file and saved it. Now, the README.md file appears in the ‘Changes’ section. We stage it, add a Commit message, Commit, then Push to Github.